No products in the basket.
Blog
Connecting Waste Pipes to a Soil Stack
In the vast majority of modern houses and buildings, waste pipes are connected to a soil stack (sometimes referred to as a soil vent pipe) which is a vertical pipe fitted externally on a property that serves to remove sewage and waste water from a home and divert it away into the main sewer. This includes waste from toilets, as well as a bidet or urinal, along with wastewater from household appliances such as a washing machine or dishwasher as well as used water from kitchen sinks, bathroom sinks, baths, hand basins, and showers.
The vertical design of a soil stack pipe enables solid waste to flow downwards, where it can then be directed to either a main sewage system or a sewage treatment plant or septic tank when in rural locations. Soil stacks also feature air admittance valves or vents that enable gases to travel upwards and be released into the atmosphere at the top of a property which will vent the smelly gasses away from any windows and allows the system to comply with building regulations. Any vents must be at least 900mm higher than the level of any windows on a property to ensure that potentially harmful gases and odours are released safely and comfortably.
As soil stacks provide a fundamental function, it is essential that any soil stack waste connection is fitted properly. So in this article we offer an overview of the different fittings that are available for attaching waste pipes to soil stacks, as well as advice on how to install them.
Different Types of Waste Pipe
Before you connect any pipes, first of all you need to identify the type of pipes that you are dealing with as there are a number of waste pipe sizes available for different purposes. Predominantly, soil pipes are manufactured from uPVC (although homes with older plumbing systems may have cast iron pipes) and the diameters dictate what they are suitable for.
For example, in the UK, 21.5mm pipes are generally used for cisterns, 32mm pipes are suitable for small hand basins that have a low output of wastewater, and a wider size of 40mm is usually ideal for shower, bath and kitchen sink waste pipes. As the soil pipes will need to carry solids, a much larger size of pipe is used, the most commonly used size in domestic settings is 110mm drainage pipe, but wider diameter pipes are available where required such as 160mm.
There are also three types of pipe connections that are commonly used to join the different types of waste pipes, and as it is generally advised that you should try to consistently use one method throughout a drain system within a property. It is worth checking how your existing waste pipes connect currently before purchasing new fittings.
Available connection types for a waste system are:
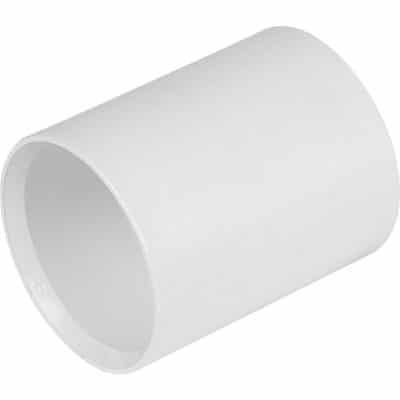
Solvent Weld Joints – Solvent waste pipes are permanently joined together using solvent weld cement which is a commercial grade glue that bonds certain types of plastic. It’s usually applied with a brush and needs time to cure, however the resulting bond is extremely strong and durable.
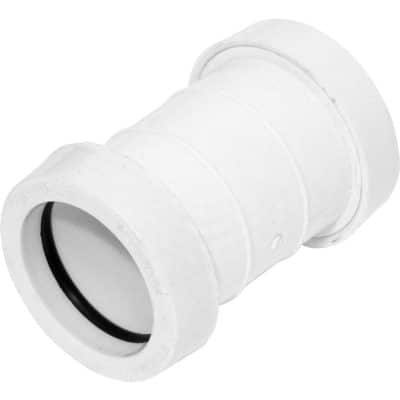
Push-Fit Fittings – Quick to install, push fit waste pipes are simply pushed into each other to create a watertight seal without the use of traditional plumbing tools.they feature a rubber seal which holds the two pipes together and creates the seal.
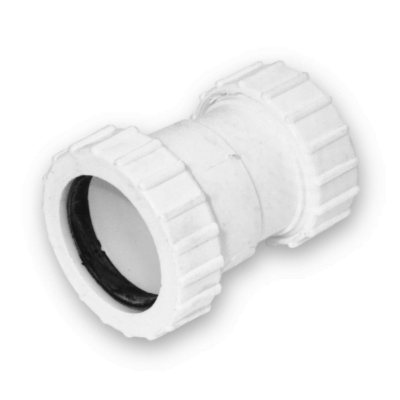
Compression Fittings – Featuring an inner compression ring and outer compression nut, compression waste pipe fittings can be tightened to create a secure seal between pipes. Although generally a more costly way to connect pipes together, compression fittings have the advantage of being demountable, which means you can remove the connectors from the ends of pipes and reuse them as needed.
Once you have the right size and type of fittings, you can then connect waste pipes to your soil stack following the guide in the next section of this post.
Installing a Soil Stack Connection
When connecting waste pipes to soil stack pipes, there are just two main stages – running the waste pipe out through the wall where the soil stack is positioned, and then joining the waste pipe to the soil pipe stack. We have broken this down into further steps below, however unless you have experience of fitting waste pipes within a house and you are confident when it comes to pipe connecting, it is always recommended that you appoint a professional plumber to carry out the work to avoid creating a problem with your underground drainage system such as a blockage or leak.
Step 1 – Firstly, you will need to estimate where the waste pipe will come through the building wall and be sure that there are no obstructions on either side that will cause problems. As it is very unlikely that you will be able to precisely calculate where the pipe will come through, to be on the safe side it is advised that you allow for a generous margin of error in case your estimation isn’t quite right.
Step 2 – Once you have marked the point that the pipe will come through, you then need to drill a hole into the wall. A professional drill with a diamond tip is recommended, however if you do not own one you may be able to rent one from a local DIY centre. Alternatively you can use a smaller tip to drill small holes around the circumference of the waste pipe from inside the property, and then create the larger hole using a cold chisel and hammer.
At this step you might also want to consider removing a brick from the external side of the wall before cutting into it and then replacing it once the pipework is in place as this can sometimes result in a neater finish to the outside of the property. On the inside of the wall, you can simply clean up the hole that you have created for the waste pipe with plaster and paint once the pipework has been successfully installed.
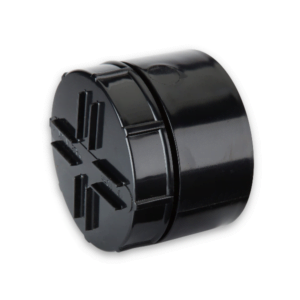
Step 3 – As well as ensuring that your waste pipe is cut to the right length and that you have any bend or other type of fittings that may be required to feed the waste pipe out through the wall, you should also add an access plug with a removable cover to your waste pipe run as this will allow you to clean the system if a blockage occurs as a result of excessive toilet paper or other types of debris.
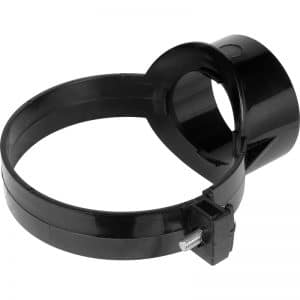
Step 4 – Run the waste pipe along the wall and then use a boss adapter to join it with one of the boss connections on the soil stack. If the soil stack doesn’t include any bosses, you will need to connect the pipe either with a strap on boss or a short boss pipe. If you are using a strap on boss (which is often the easier option) firstly cut a hole into the PVC soil stack pipe in the position where you would like to create the join, put the strap in place around the pipe, align the boss with the hole, and then secure it with the strap. The fastening method of straps can vary depending on the type of strap on boss you are using, so please check the manufacturer’s instructions. Usually they are attached using a screw and nut.
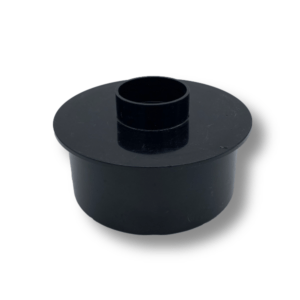
Alternatively, if you are using a short boss pipe, you need to install it along the soil pipe run and then connect each of the pipes into a socket on the boss (using a boss adaptor where required) and finally secure the joints using solvent cement (unless using a push fit system).
If your home is fitted with a cast iron soil stack, you’ll need to ensure that any boss fittings you use are suitable prior to installation or replace a section of the soil vent pipe with a flexible connector.
High Quality and Low Price
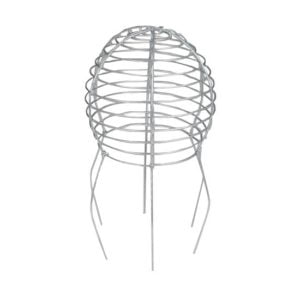
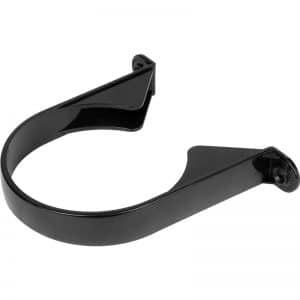
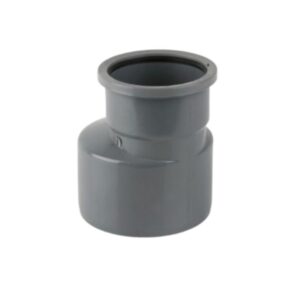
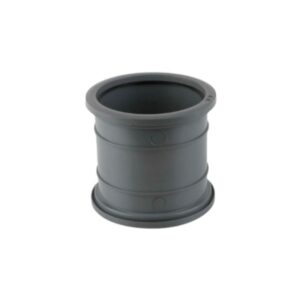
If you’re carrying out a waste pipe system job, we offer all the parts you need at EasyMerchant – our range of drain pipes and soil pipe fittings includes waste pipes, short boss pipes, boss adaptors, soil access plugs, stack drains, soil pipe reducers, soil pipe brackets, pipe clips, vent cowls, and strap on bosses. All of our UK-made products are produced by industry-leading manufacturers and feature the kitemark seal of approval, plus you can be confident that you are getting the very best price as we buy in bulk and pass on the savings to you.
The EasyMerchant Customer Care Team is also on hand if you need further help and information on pipe connection methods.
