No products in the basket.
Blog
Top Tips for installing a French Drain
Looking for some tips on how to properly install a French Drain? Read our latest post for some more information.
Though installations may vary depending on the situation at hand, by the end of this article you’ll understand a standardised approach that can be modified to your unique circumstances.
Although installing a French drain is a relatively simple process, it does still require due care and attention as you’ll likely be digging around an existing property or building and therefore there will likely be other buried pipework or cabling, if you’re not comfortable installing it by yourself, you could always contact a local landscaper, groundworker or drainage engineer for a quote.
What is a French Drain?
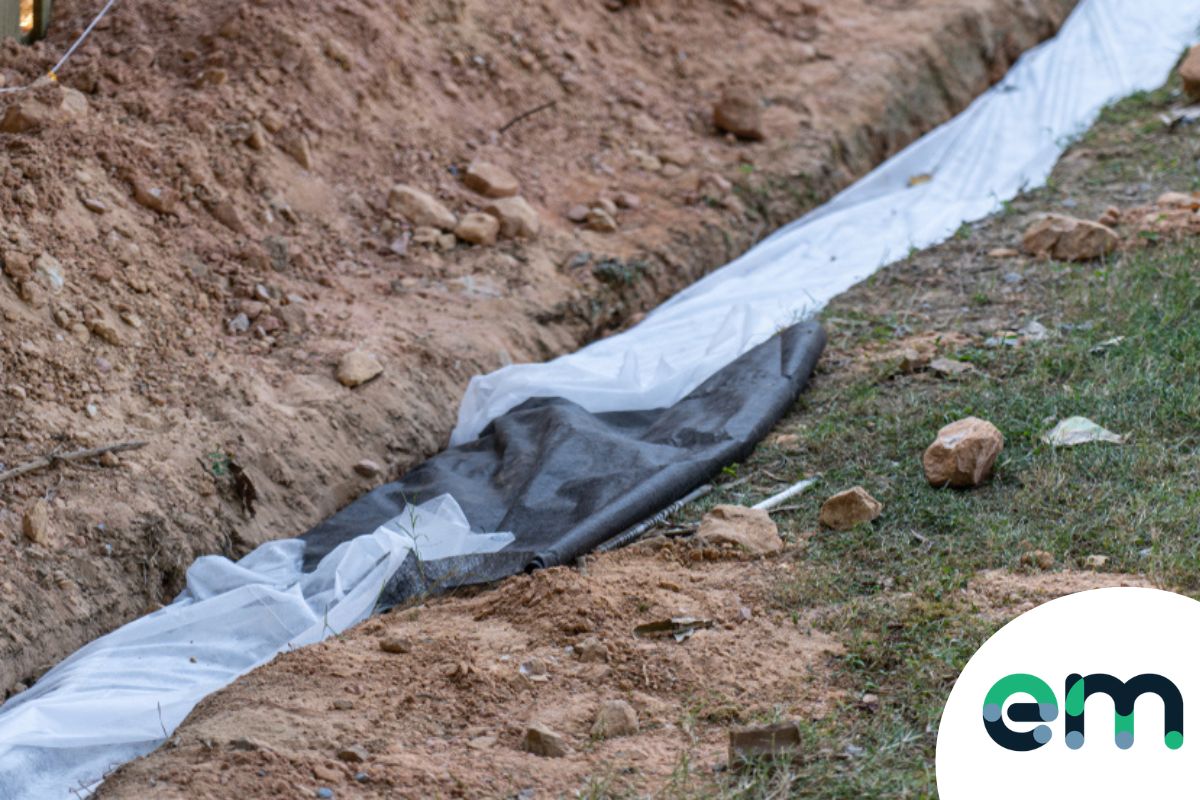
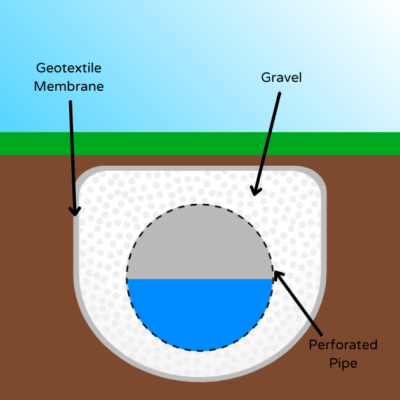
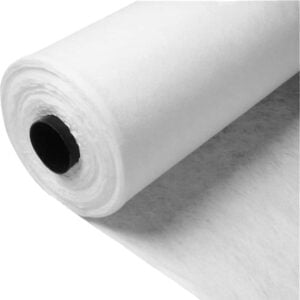
A French drain is a simple, yet effective way to stop flooding or standing water creating an effective means of drainage. It’s simply a trench that is dug in the ground, which is then lined with a non woven geotextile membrane and filled with shingle (10mm or 20mm) and usually also a perforated land drainage pipe. The shingle and pipe are completely wrapped in the geotextile membrane to stop sediment and silt from clogging up the drain. Water then runs into the trench, along the pipe and away from the flooding area.
How does a French Drain work?
Water runs into the gravel filled trench and then usually into a perforated land underground pipe within the trench. The water will then travel along the pipe and empty either into a soakaway, drainage ditch, a well or any other suitable drainage area. The trench is lined with a non woven membrane which stops silt and sediment from clogging the drain. French drains can be relatively easily constructed and can be an easy and low cost way of adding effective drainage to an area.
French Drains Installation: Prior Considerations
Diving headfirst into proceedings without careful planning is rarely a good approach. Prior to installing your drain, there are some important considerations to be made.
What’s great about planning is it will give you the confidence you need for effective French drain installation.
Prior planning
Without proper planning, you could end up with a trench that doesn’t correctly drain the area or one that is prone to blocking or is generally inefficient.
Water has a tendency to reach the lowest point within an area, which is why it’s crucial for you to install your French drain at the lowest point of a landscape.
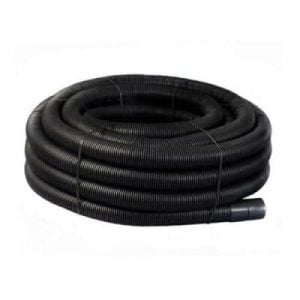
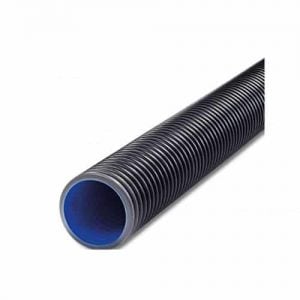
You should also consider the type of pipework you’re going to use – if at all. The correct pipework will allow for more water to be drained away, and will provide a much more functional French drain. Usually it would be a 110mm perforated drainage pipe, or perforated land drainage pipe. You can also buy half perforated twinwall drainage pipes if there is going to be traffic or heavy loads going over the top of the drain. We sell all of these here at EasyMerchant.
Where Should Your Drain End?
As remarked earlier, your French drain should end somewhere close to the lowest point of your trench. Water can then flow away from where it’s prone to become waterlogged, using a pipe that’s long enough to redirect water to dry areas that can benefit from moisture. The drain will usually empty into a drainage ditch, a soakaway or just into an area that isn’t as prone to flooding.
Without any further ado, let’s take a deep dive into French drains installation to highlight how it’s done correctly:
French Drain Installation: How to Do It Properly
Traditionally, French drains were installed using aggregate that enables water to flow through it naturally and into a more suitable spot.
Depending on the situation at hand, the chances are you’ll benefit from the modern method of implementing a pipe for better drainage. By doing so, your drain will be significantly less likely to block up with sediment and focus purely on sending water to the end of the drain.
With a Pipe
Here are some useful steps for installing a French drain with a pipe:
- Decide upon where you’d like the water to drain to, remembering it should be as low as possible.
- Plan where you’d like your trench to reach, including a destination for water drainage, size of pipe needed (if you’re using one), etc. You should ensure your route is clear from pipes, cables, and trees to create an unobstructed water flow.
- Plan a destination for the soil uncovered from digging your trench. You could use some of it later on to consolidate your setup and use it elsewhere in your garden. Otherwise, you’ll have to arrange for transport to take it away.
- Plan the width of the drain using 200-300mm as a rough guideline. Though generally suitable, the length you use will be largely dependent on how much water needs to drain. Remember it’s better to overestimate than build a drench that fails to function properly.
- Dig a trench by using a mini digger or working by hand. It’s important for your trench to slope at no less than 45 degrees, to ensure a smooth flow from the affected area and to maintain stable ground. Use a minimum 1% gradient as a rule of thumb, otherwise, water will not flow to its target destination.
- Once your trench is ready you should line its radius with permeable geotextile fabric. This lining will prevent sediment build-up that can interfere with the process.
- Fill the bottom of your trench with a layer of aggregate, before filling the rest of it to around a third of the way up. Larger aggregate is preferred because you’ll experience fewer blockages. The ideal size to use is around 10-20mm pea shingle.
- Insert your perforated land drain pipe at the bottom of your trench, usually around 100mm wide with perforated holes that face the ground. This is a crucial step because the position of your holes will be critical to the successful removal of water. Otherwise the water will have to fill up the pipe before it drains out of the holes.
- Having installed your pipe, you should fill the rest of your trench with the pea single until it’s just below the surface level. You should then make sure the entire thing is wrapped in the membrane so it prevents further soil from entering your drain.
- Having completed installation, you can cover your French drain to avoid it sticking out like a sore thumb. You can use some of the leftover soil or perhaps use grass/decorative aggregate to create something that’s visually appealing.
Without a Pipe
If you don’t have access to piping and landscape fabric, you can instead design a drain that functions according to traditional principles, baring in mind that the drain will not be as effective and will not last as long.
Follow steps 1-5 and then:
- Fill your drain with aggregate, first layering the bottom and then filling the rest to around a third of the way up. Without a pipe, water will still flow through the aggregate and into the area of your choice.
- Take great care when concealing the top of your French drain, especially since there’ll be nothing to stop things from falling in and causing blockages.
- Maintain your drain regularly to reduce blocking and ensure effective operation.
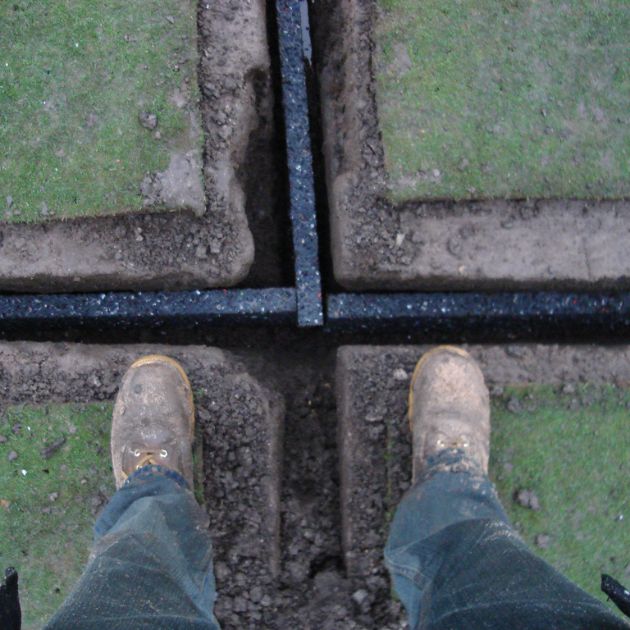
Another way to install a French Drain without using pipework would be to use Enviroflow drainage planks, these are 1m long sections of 100% recycled material that allows the water to pass through and they do not get blocked or clogged. They can simply be inserted into a pre-dug trench and covered back over without having to use any geotextile to protect them, or any professional tools, which can be perfect for smaller garden jobs.
How Much Does it Cost to Install a French Drain?
The prices of French drains can vary considerably, depending on variables like size, quality of materials used, and whether you seek professional help.
Here is a rough cost guide to help you work out the level of funds you’ll need to proceed:
- 1.5m x 30m Non Woven Geotextile Fabric (100GSM) – ~£60
- 100mm x 25m Perforated Land Drainage Pipe – ~£80
- 7 x 20mm Graded Aggregate (1 tonne) – ~£60
Shop French Drains:
Sale!
Sale!
(28)
From £228.03 Excl. VAT
Sale!
Sale!


I’m checking how to build a french drain and like the look of the drainage planks.
Can you please let me know how much they cost and also whether it is necessary to use aggregate or can you just fill the trench with earth
Many thanks
Jim
Good Afternoon Jim,
If you are using the Enviroflow Drainage Planks then you can just fill in the trench with earth.
Please click the link above to see up to date pricing.
Kind Regards
The EasyMerchant Team
Thanks for sharing tips for installing a French Drain. Your blog is so much useful for us.
I live on a hillside ( in Wales ) and worry I will just be passing my problem to my neighbours, any suggestions?
Anne you’ve probably done the work by now but I’d suggest turning the problem to an asset eg, what’s going to like the water? plants and trees. Areas that aren’t blessed with water have Swales added to stop run-off; consider spreading run off into terracing and willow, thirsty crops, a pond, or plant olive trees (esp if it’s south facing),
What would be the best way to connect a land drainage pipe to the waste pipe please? . (I have access to both rainwater pipe (where the guttering runs into) and also the waste where the kitchen sink drains into a hopper.