No products in the basket.
Blog
Using Geotextile Membranes as Part of a Sub Base for a Patio.
Which Geotextiles should I use with my patio sub base, and how should I use them?
Building a new patio or repairing an old one? Well, one of the most important steps in building one is it’s sub base. The sub base is the foundations of the patio, so a perfect build is critical for a long lasting, fantastic looking patio.
In this guide we’ll go over some of the basic steps in building a sub base for a patio, which materials should be used as well as which geotextile membranes should be used, why you should use them and how.
Step 1: Preparing the surrounding area.
Before beginning your patio build you’ll need to prepare the surrounding area ready for the sub base. You’ll need to use a shovel or digger to dig out any excess soil, removing any debris and vegetation at the same time. the area should then be levelled by filling any low spots, levelling the ground as much as possible.
Step 2: Laying the geotextile membrane.
Now that the area has been prepared and is ready, you can lay the geotextile membrane.
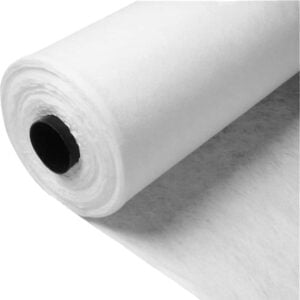
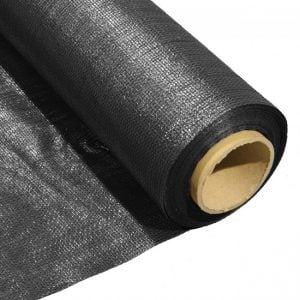
Geotextile membranes are either woven or non woven and which one you will need depends on the type of patio you intend to construct. A non woven geotextile such as Terram T1000 will allow for drainage as it is needle punched, meaning it has thousands of tiny little holes in it which will allow the water to pass through. It is sometimes known as a drainage membrane for this reason. A woven geotextile membrane is a fabric made of fibres that are woven together. While some water will pass through a woven membrane it is not recommended where drainage is required.
Usually with a standard patio, drainage underneath the patio is not required, so a woven membrane should work just fine. The woven membrane will help to stop the sub base of the patio from mixing in with the ground beneath which will avoid pitting, sinking, or wobbling of the patio slabs.
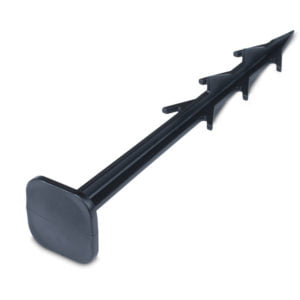
To lay the membrane you’ll simply need to unroll the membrane and evenly distribute it over the entire area, overlapping any edges by at least 300mm. You can peg the membrane down using plastic ground fixing pegs, but usually the weight of the sub base materials will be sufficient in holding it in place.
Step 3: Add the sub base materials.
Now the area has been cleared and the membrane has been laid in place, you’re now ready to begin adding the sub base for the patio. There are a variety of different materials that can be used for the sub base, but crushed stone, gravel, or sand are commonly used. Crushed stone or hardcore is usually the best option because it’s easy to work with but is more durable than sand. Gravel can be used to aid with drainage if necessary, sharp sand is easy to level and work with, but is not usually recommended as it just doesn’t create a stable enough base for the patio. Instead it should be used as a binding coat.
As you’re adding the sub base material, make sure it’s evenly distributed, making sure there are no gaps or low spots. You can use a rake to spread it out evenly.
Step 4: Compacting the sub base.
The next step is to compact the cub base to make it a strong and stable foundation for the patio. The best tool to use is a vibrating compactor plate this is a machine that compresses the sub base by using strong vibrations, however a manual tamper can be used in smaller areas although it will be a lot less efficient and much harder work. Make sure you have considered the fall while completing this step. You’ll usually require a fall (or slope) on the patio so that the water will run off in a desired direction. You can then add a thin layer of around 10mm of sharp sand on top as the binding coat.
Step 5: Build the rest of the patio.
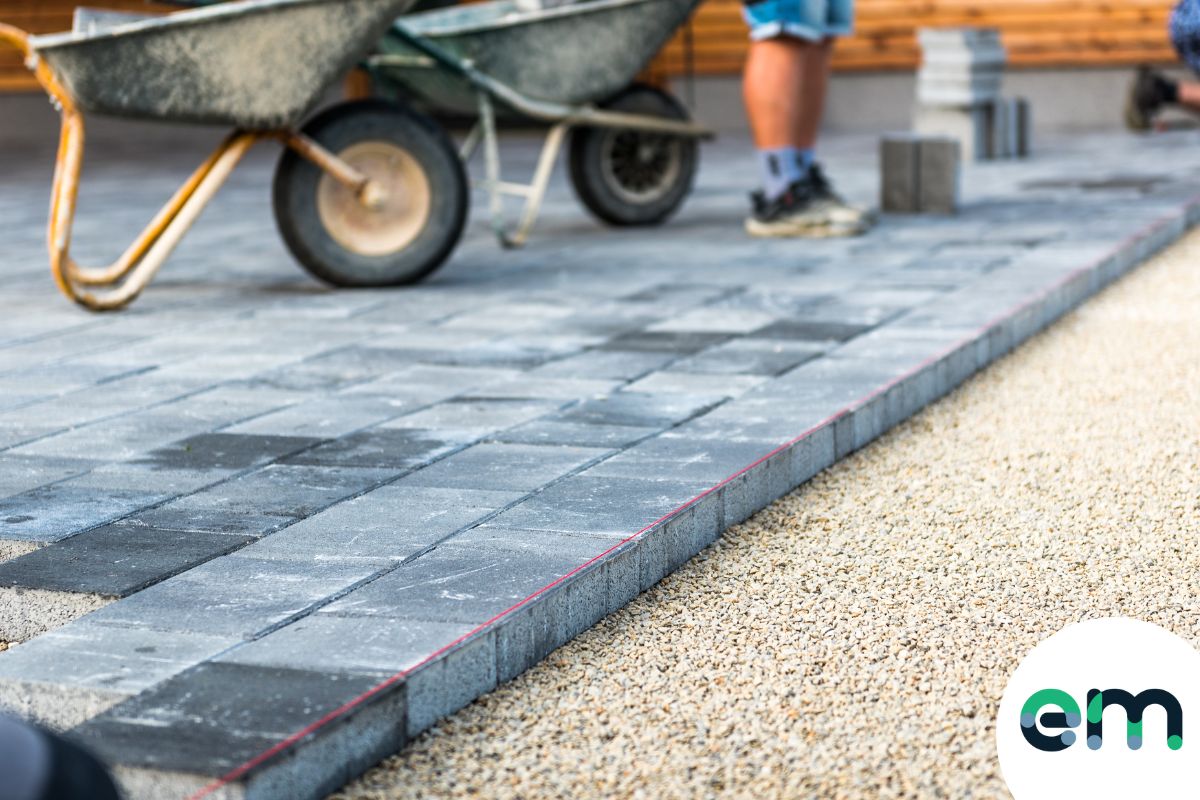
Once the sub base is completed with the correct fall in place, you’re now ready to begin laying your paving slabs! This will involve a variety of tasks depending on which materials you’re using, be it paving slabs or pavers.
We hope this short guide explains the use of geotextile membranes for a patio sub base. As always, if you have any questions at all please do not hesitate to contact us.
Shop Geotextiles:
Sale!
Sale!
(12)
From £17.89 Excl. VAT
Sale!
(1)
From £41.59 Excl. VAT
